
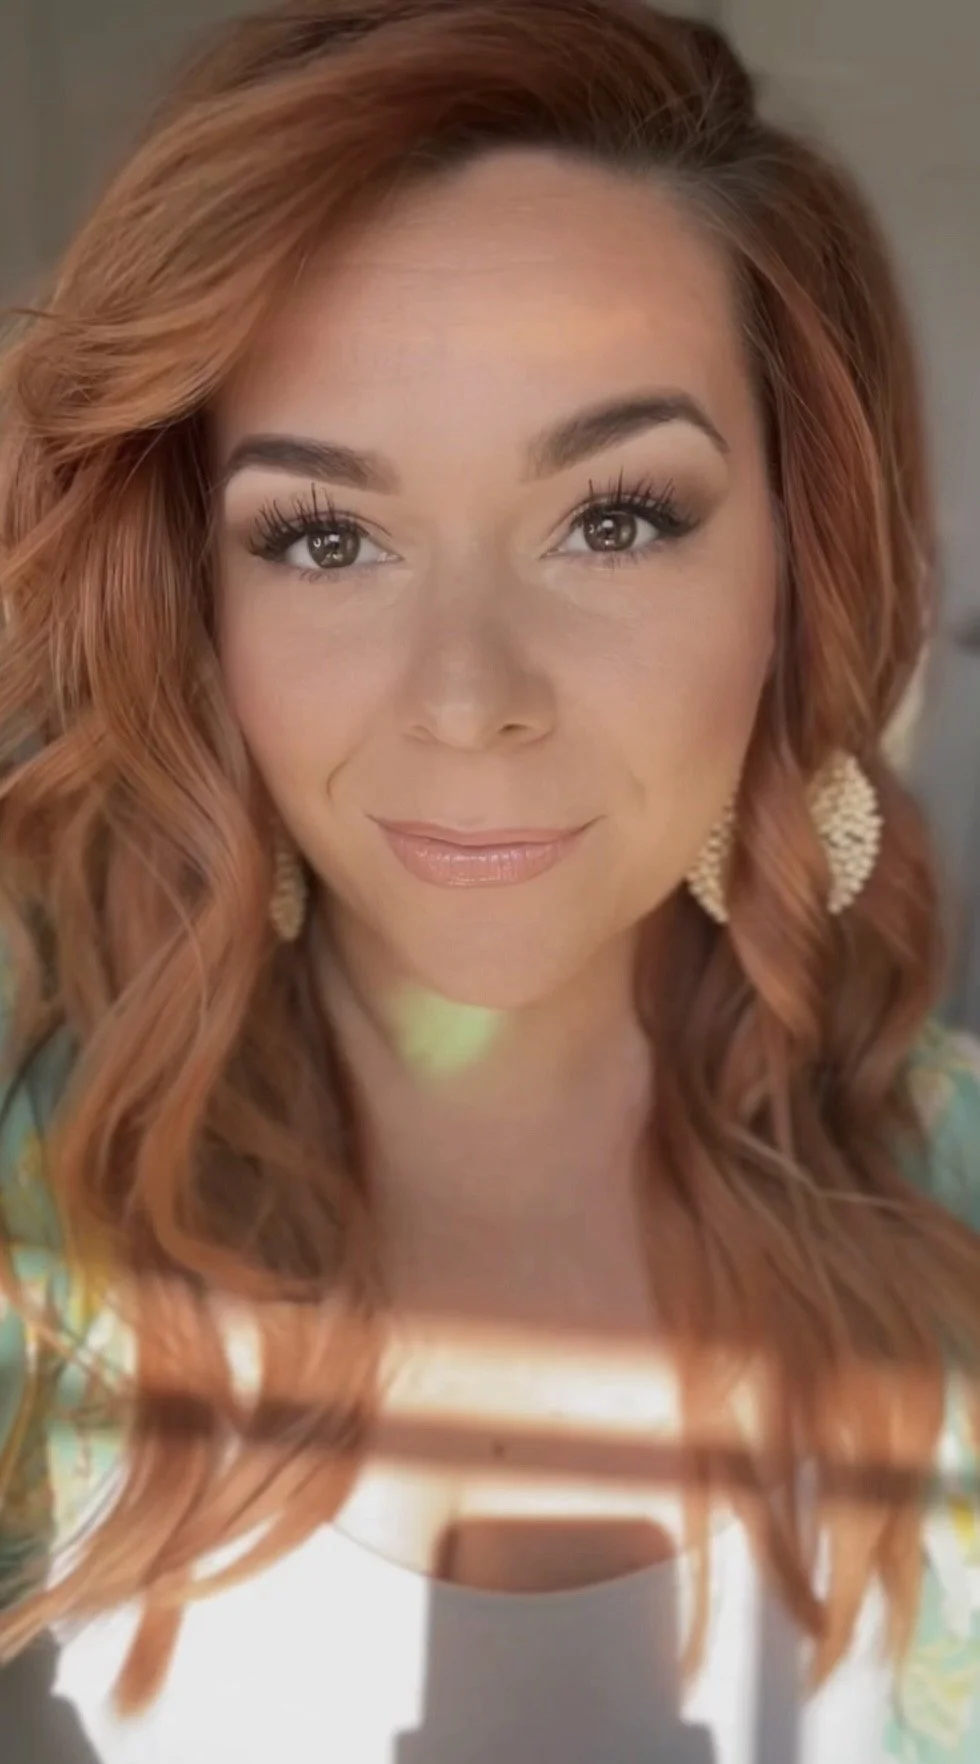
Hooded Eyes Eyeshadow Tutorial: Step by Step
Shop the eyeshadows from this reel:
Shades: Chai, Coco, Basic & Crush
Everything else I used:
Wingstamp Eyeliner Pen: The Flick Stick from Amazon (I use the Classic 10mm size)
Mascara: City Beauty Beyond Mascara (a volumizing mascara)
Lips: Make Up For Ever Pencil in Wherever Walnut, topped with Seint Lip & Cheeks in St. Tropez + Sunshine State, topped with City Lips Plumping Gloss in Clear
Step by Step:
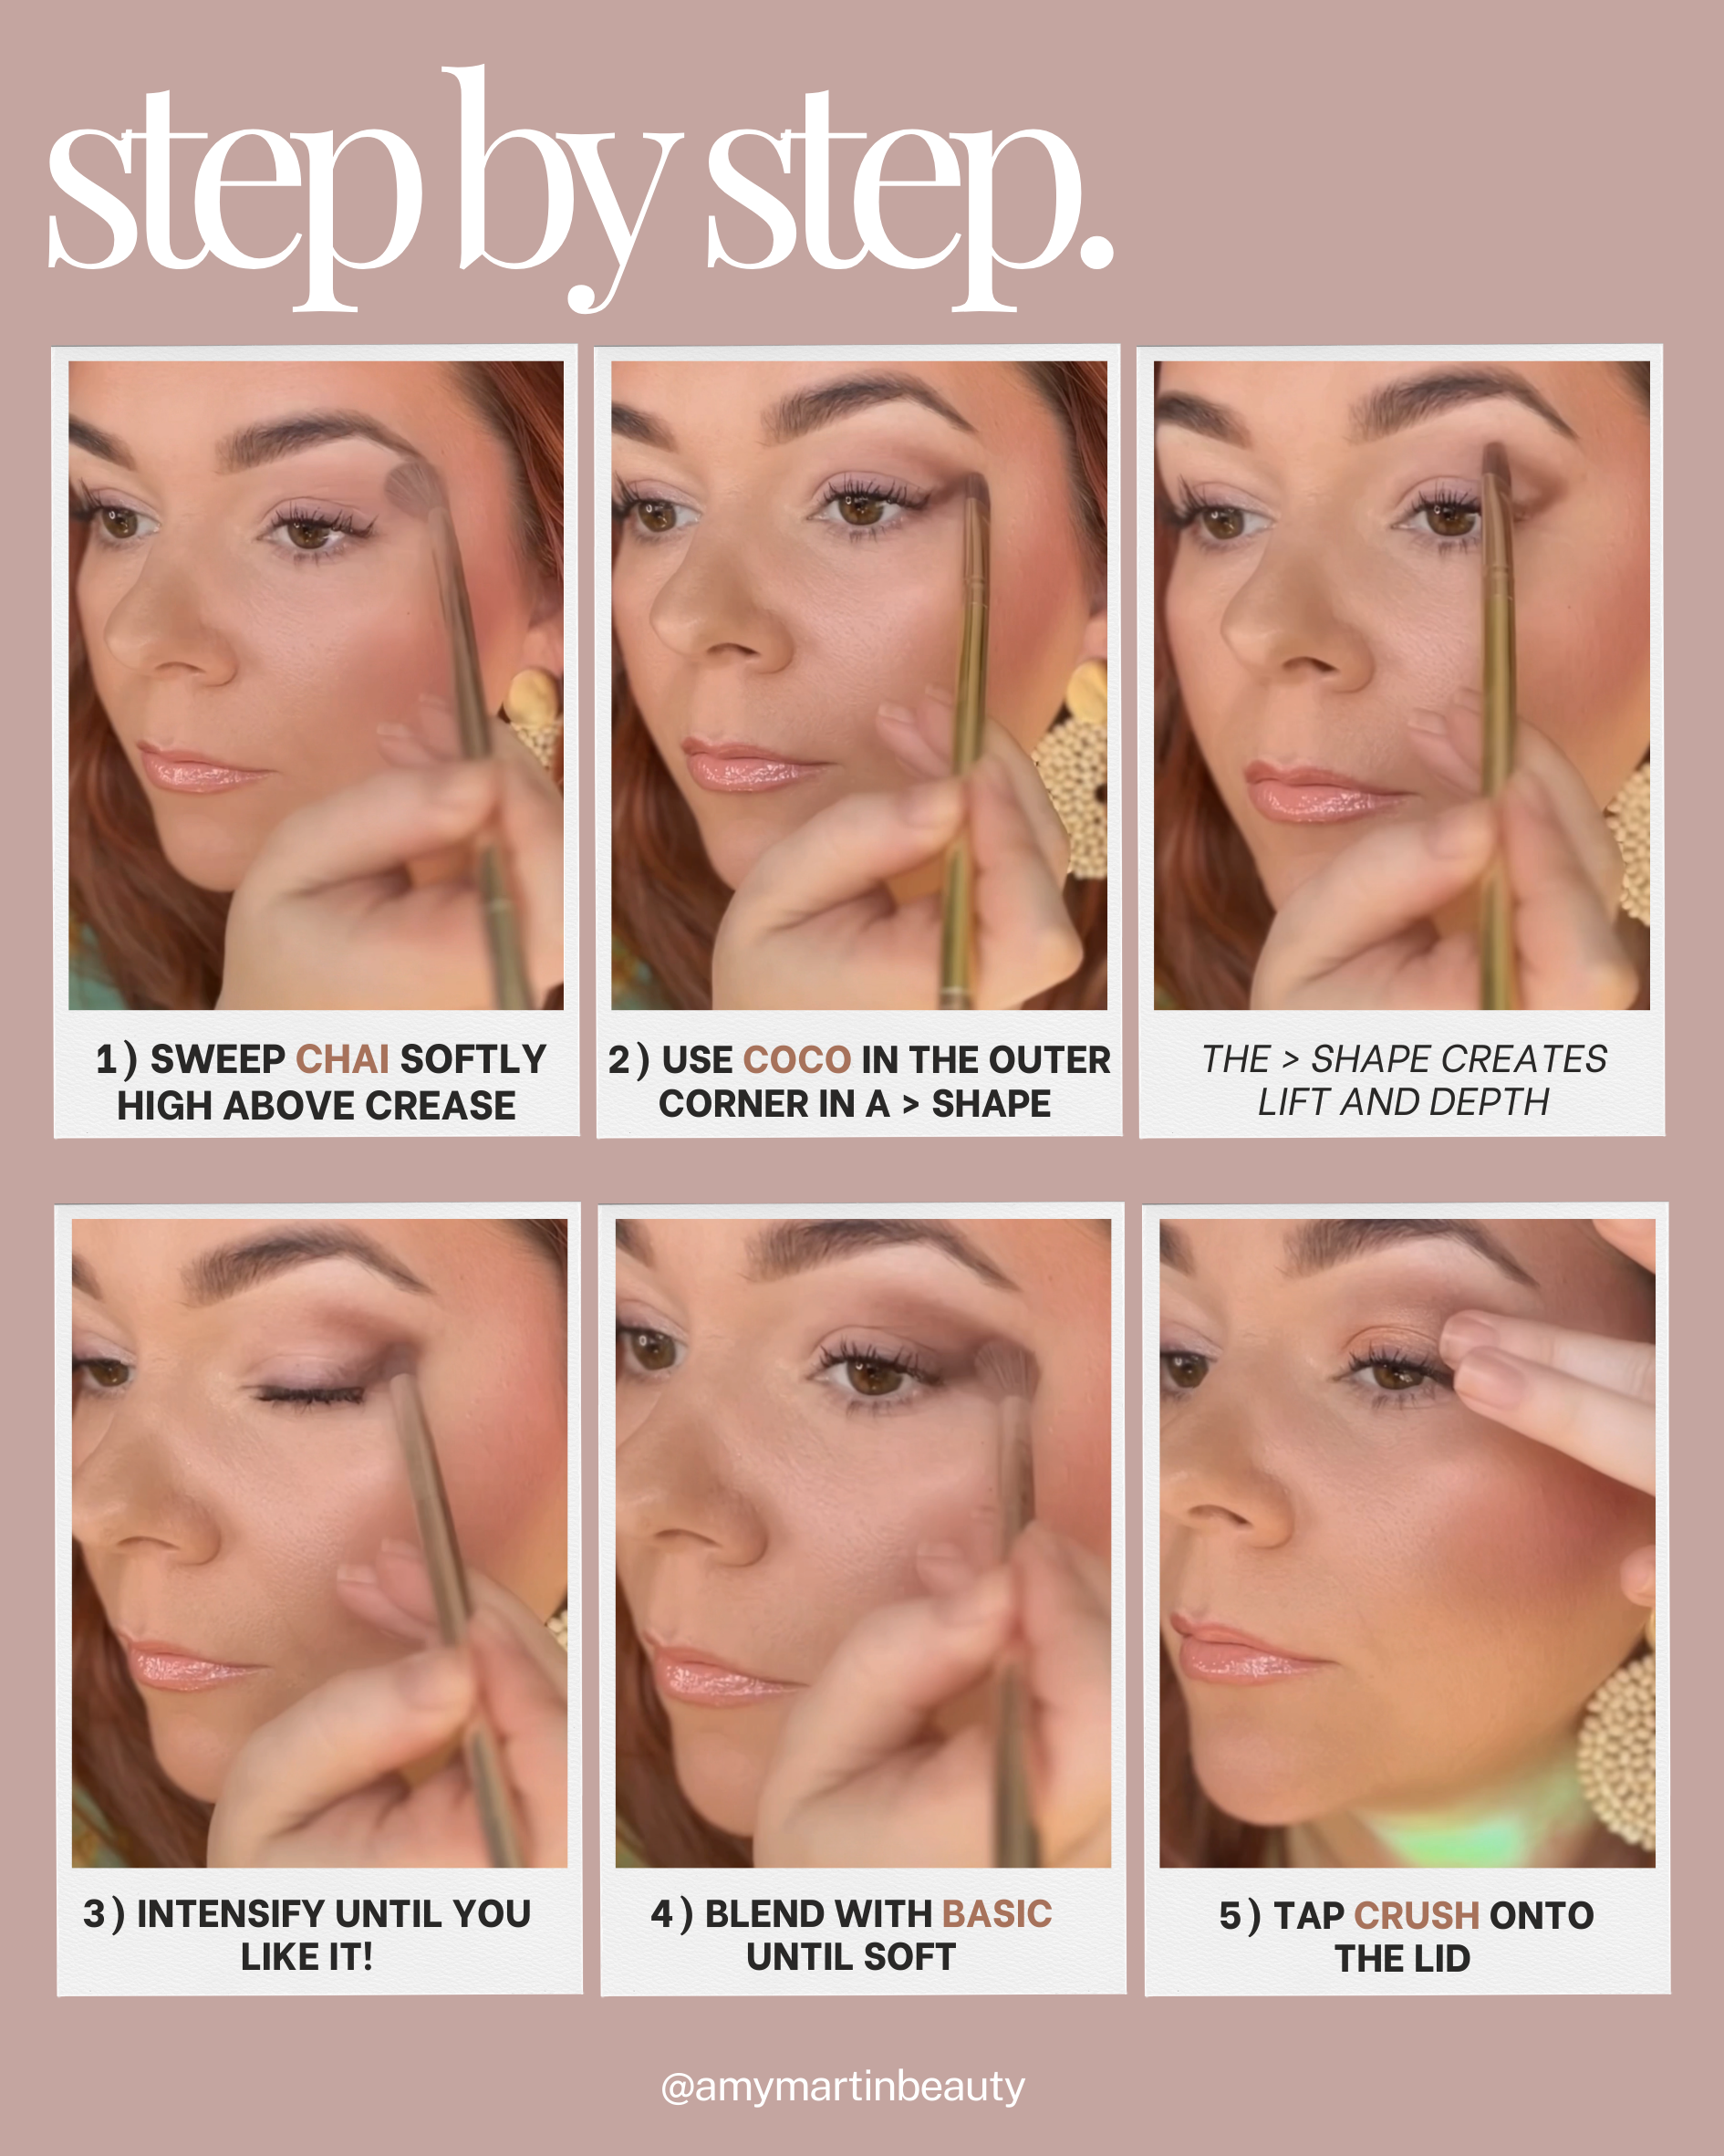
With the fluffy end of the Eyeshadow Brush, sweep Chai high up in the crease in soft back-and-forth motions.
HOODED EYES TIP: You really want to make sure you bring this shade up high enough that you can see it peeking out above your lashes when you look STRAIGHT ON into a mirror.
With a flat brush like the Multitasker Brush, apply Coco in the outer corner in a > shape. We’re creating lift AND depth with this shade — this depth mimics a higher crease which lifts the eye.
Using the small end of the Eyeshadow Brush from earlier, deepen Coco until it’s as intense as you like it.
Then, flip to the fluffy side of the brush and everything together with a little Basic (a medium brown) on your brush until it’s soft.
With your finger, tap Crush (or any light shimmer shade you love) onto the lid in the blank space that you have not applied eyeshadow.
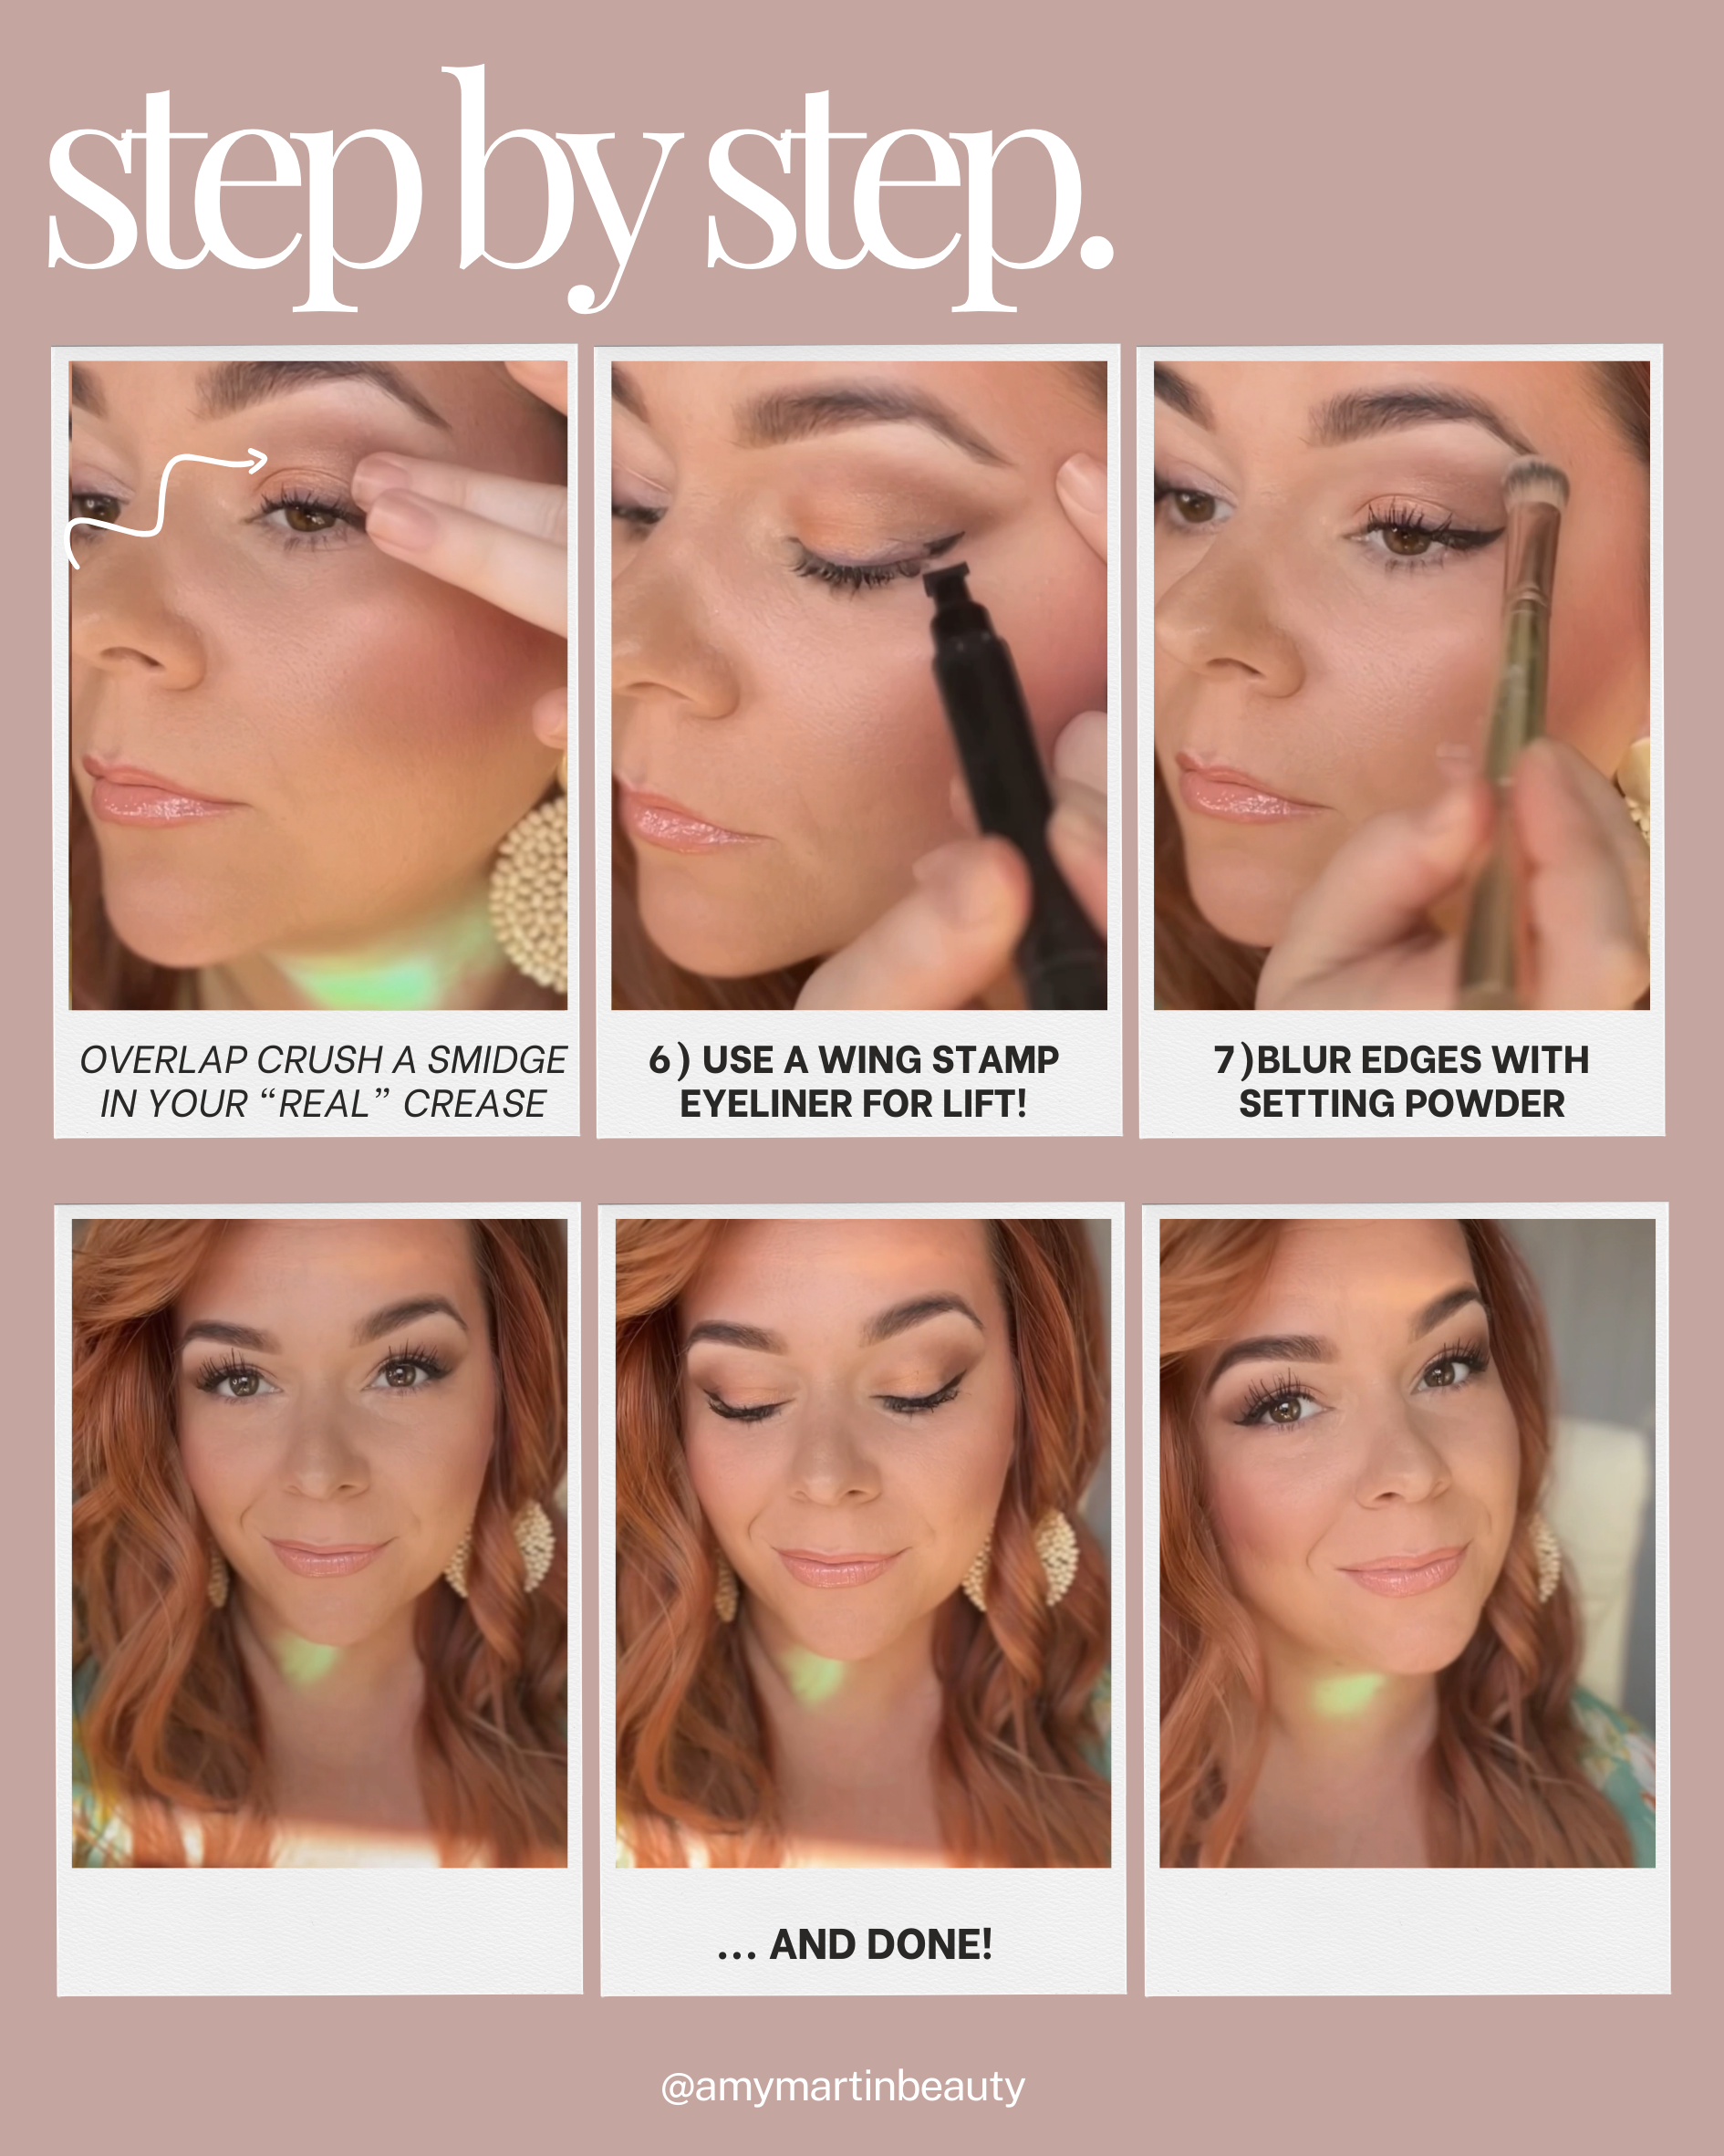
HOODED EYES TIP: Overlap Crush a tiny bit into your “real” crease. This will trick the eye into seeing more light on your lid which will look like you have MORE visible lid space!
For extra lift at the outer corner: Use a wingstamp eyeliner pen! I like this one from Amazon.
Tap your brush into whatever setting powder you have on hand. Then go over the edges of your eyeshadow with light swirling motions to blur and blend.
Makeup should always be fun!
xxoo Amy
This post may contain affiliate links. If you click on a link and make a purchase, I may receive a commission. Thank you so much for your support!